 Are you active in Facebook groups?
Looking for a better way to organize the content you share in those groups?
Managing your content in Trello lets you spend less time figuring out what to share in Facebook groups and more time engaging with fellow members.
In this article you'll discover how to use Trello to manage the content you share in Facebook groups.
Listen to this article:
Where to subscribe: Apple Podcasts | Spotify | YouTube Music | YouTube | Amazon Music | RSS
#1: Prioritize and Organize Your Facebook Groups
No matter what tool you use, trying to manage 25 or more Facebook groups is going to be overwhelming. The trick is to know which groups best serve your goals and which groups you can best serve.
If you're considering a new Facebook group, give it a 14-30 day trial. During that time, you'll get a feel for the types of content shared in the group. Also pay attention to the other members, so you can decide whether the audience aligns with your ideal prospects.
#2: Create a Trello Board
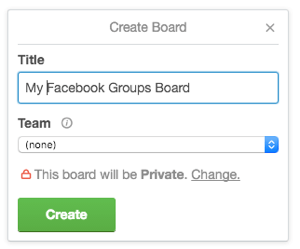
After you've made a decision about which groups you want to manage in Trello, the next step is to create and name a Trello board (maybe something like “Facebook Group Management”).
You'll want to organize your Facebook groups by making a label for each one. I suggest you use a color-coded system to help you remember what types of content you can share in each group.
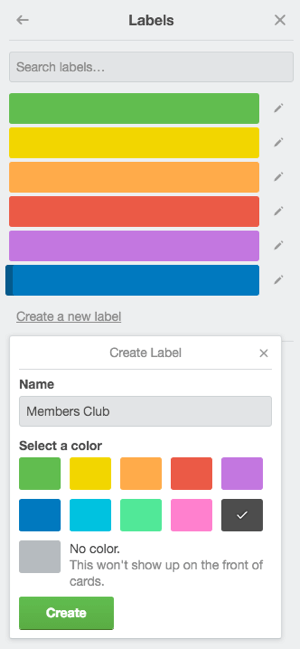
For example, some groups have specific promotion or engagement rules and others simply have a niche focus. Perhaps you could use red hues to denote groups that prohibit promotion and green hues to denote groups that allow promotion. Whatever system you choose, knowing the slant you want to give your content will be easier if you know where you're sharing it at a glance.
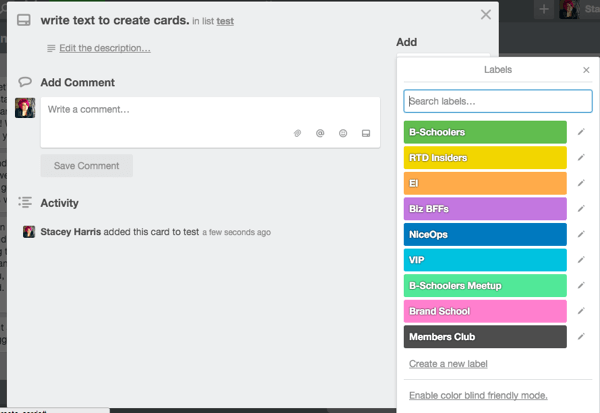
Using these labels will also make it easy to see where you've shared a piece of content in the past. This goes a long way toward helping you avoid duplicating content in the same group, and making sure you don't accidentally copy and paste the same content, with no alterations, into several different groups.
#3: Make Lists for Your Content Topics
Now it's time to add a list for each type of content you'll share in your groups; later on, in step 4, you'll add cards for specific pieces of content.
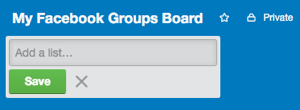
For example, you might create lists for promotions of a membership site, a podcast, freebies you offer, and webinars you host. You should also have lists for Q&A prompts, tips and tricks, inspiration, and funny off-topic stuff. I even keep a column for introductions with a few variations that I can use (and tweak if necessary) as I join new groups.

Discover Proven Marketing Strategies and Tips
Want to go even deeper with your marketing? Check out the Social Media Marketing Podcast! Publishing weekly since 2012, the Social Media Marketing Podcast helps you navigate the constantly changing marketing jungle, with expert interviews from marketing pros.
But don’t let the name fool you. This show is about a lot more than just social media marketing. With over 600 episodes and millions of downloads each year, this show has been a trusted source for marketers for well over a decade.
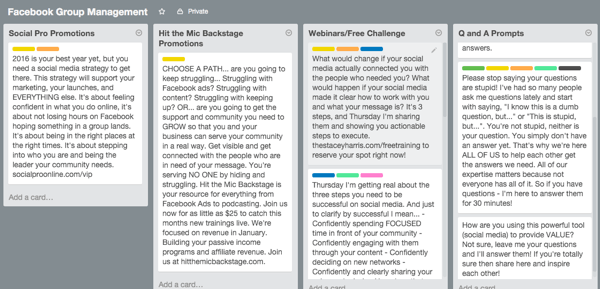
Create as many lists as you need and make sure every content topic has its own list on your Trello board.
#4: Fill Your Lists With Pre-written Posts
Spend time creating the text for 8 to 10 posts for each of your content lists. This step takes the longest, but doing the work up front means you'll have more time for engaging in groups later.
Get World-Class Marketing Training — All Year Long!
Are you facing doubt, uncertainty, or overwhelm? The Social Media Marketing Society can help.
Each month, you’ll receive training from trusted marketing experts, covering everything from AI to organic social marketing. When you join, you’ll also get immediate access to:
- A library of 100+ marketing trainings
- A community of like-minded marketers
- Monthly online community meetups
- Relevant news and trends updates
Remember, you'll likely share each of these posts in a number of Facebook groups on different days and at different times, so don't worry if they sound similar. A great way to find inspiration for these post cards is to look at your past blog content and craft Facebook posts around that content. Use some of your posts to link back to that content on your blog, but in others simply provide value with a tip from the original blog post.
You'll also want to have any images or graphics on hand so you can easily attach them to the appropriate card. When you have all of your copy and graphics ready to go, it's time to fill each list with cards of your posts.
Start with your first list and click on the Add a card link at the bottom of the list.
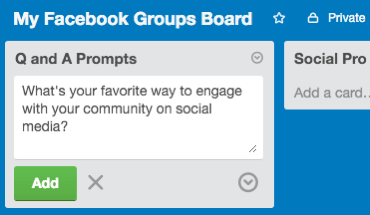
Title the card with the full copy of the post so you can see exactly which posts are available in each list. When you've added the title, click the green Add button.
If you prefer a cleaner layout that allows you to see more cards at one time, you can title the card and add the full text of your post in the card's description.
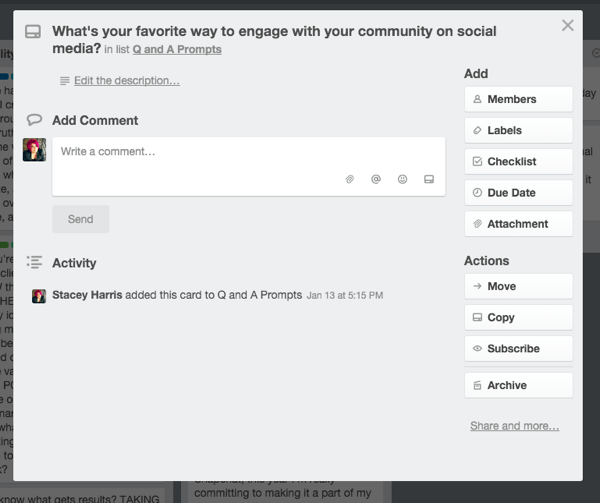
This step is also where you add any images you want to use. Click on the card you created and use the paper clip icon in the Comment box to upload any photos that go with the post. When you need to post the content, you can simply download the images from Trello.
As you use each post in a Facebook group, be sure to apply the label for that group to the card. Now you'll instantly know what you've posted where!
As time goes on, you'll want to go into your Trello board once a month to do some maintenance. If you've joined a new group, add a label for that group. Also take some time to update existing cards and add new cards (or lists) as the need arises. This monthly update lets you rotate new content in regularly so your group posts don't feel stale.
Conclusion
My favorite thing about social media is that it allows us to connect with people all over the world. That connection is supercharged when you engage with people in focused Facebook groups.
As the number of groups you join grows, managing what you post to which group can feel overwhelming. By organizing your content in Trello, you're able to keep your content organized and ready for publishing at a moment's notice.
Then you can spend more time managing your relationships instead of your content.
What do you think? Will organizing your content in Trello save you time? Do you have other suggestions? Share your thoughts and suggestions in the comments below.
Attention Agency Owners, Brand Marketers, and Consultants

Introducing the Marketing Agency Show–our newest podcast designed to explore the struggles of agency marketers.
Join show host and agency owner, Brooke Sellas, as she interviews agency marketers and digs deep into their biggest challenges. Explore topics like navigating rough economic times, leveraging AI, service diversification, client acquisition, and much more.
Just pull up your favorite podcast app, search for Marketing Agency Show and start listening. Or click the button below for more information.

