 Do you need promotional graphics for your content?
Looking for a tool to easily add your logo to your graphics?
In this article, you'll discover how to quickly create consistently branded graphics for multiple social media channels at one time.
#1: Sign Up With RelayThat
To get started with RelayThat, sign up for a free account, which lets you download five images per month and create three projects. To get unlimited downloads, remove the RelayThat watermark, and more, you'll need to upgrade to a paid plan.
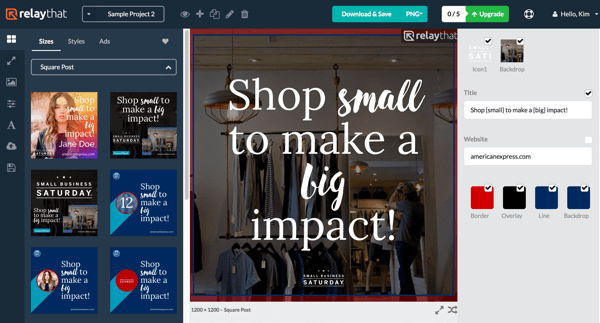
When you first log in, RelayThat starts you off with a default project and two sample projects.
From left to right, the toolbar icons at the top of the screen let you open the master asset layout for the current project and add, duplicate, rename, or delete a project. Use the drop-down menu to choose a project to work on. The menu on the left side of the screen lets you modify layout sizes and styles.
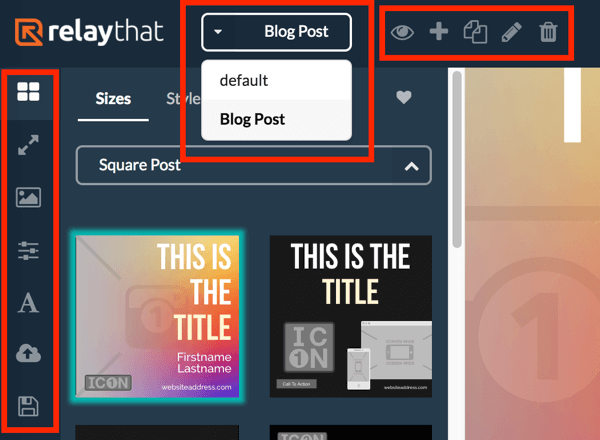
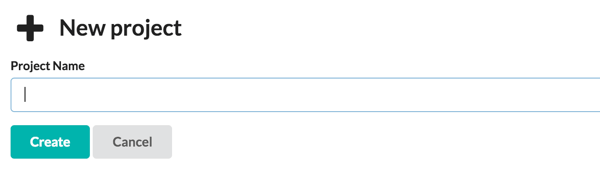
Click the + icon at the top of the screen to create a new project. In the New Project window, enter your project name and click Create.
Click the eye icon to open the master layout for your project, which includes all of the text and image assets.
The center of the screen shows your project's master layout, and your image and text assets are shown on the right. RelayThat uses the assets you add to the master layout to populate all of the individual designs. Of course, every design also can be edited on its own.
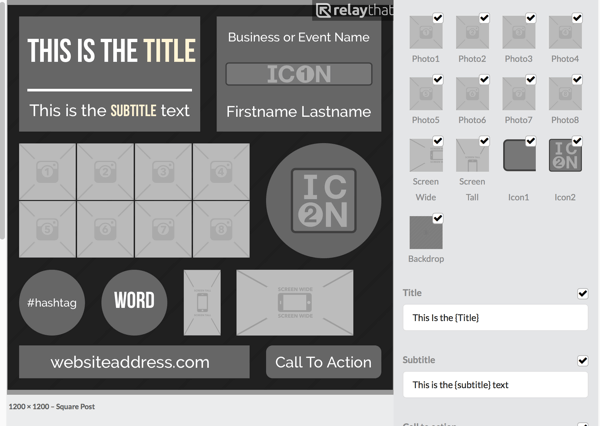
Notice that all of the assets on the right have checkboxes next to them. When you start working with individual layouts, you can uncheck assets to remove them from the design.
#2: Add Image Assets to Your Project
Now you're ready to start adding all of the image assets to your project.
Select Stock Image Assets
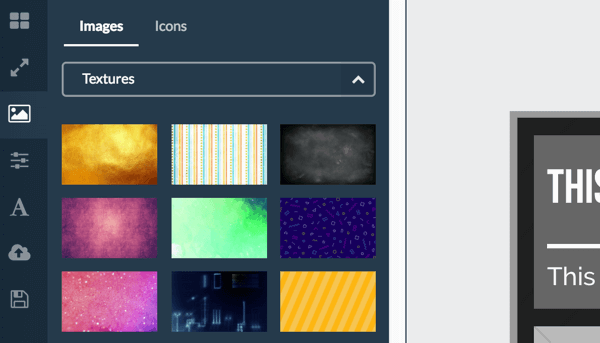
RelayThat offers in-app image resources including photos from free stock photo databases, graphic backgrounds, and gradients. To access these resources, click the image icon in the left menu bar and use the search box to find the image you need.
Which AI Moves Actually Matter?
That's what every marketer is wrestling with now. New AI strategies, new tools, new takes every week — but no clarity. Most marketers and business owners are trying to figure out AI alone.The AI Business Society is your trusted guide. Get expert-led training you can put to work immediately. Plus a community of marketers sharing what's actually working.
I'M READY FOR REAL AI RESULTS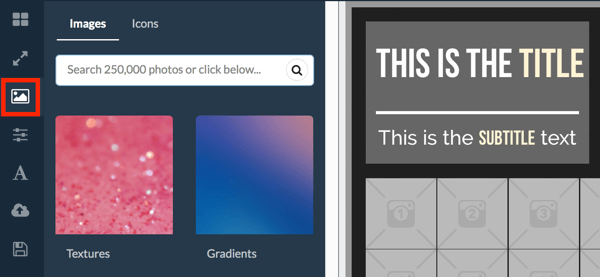
For example, if you're creating graphics for a blog post titled “Coffee Customs Around the World,” you might search for the word “coffee.” When you find a photo you want to use, drag it to the center layout or the assets library on the right.
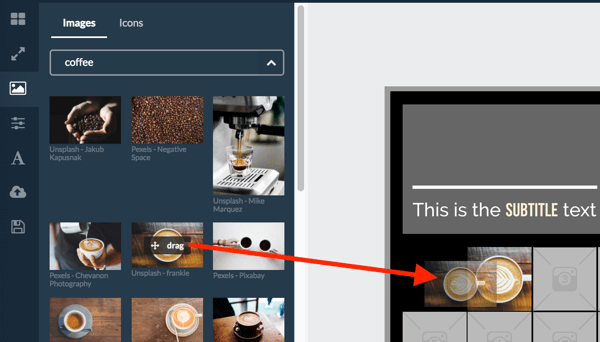
Note that you can't move the images around in the layout. If you want to replace an image in the master layout, simply drag a new image on top of the old one.
Import Your Own Images
If you want to use your own images, it's easy to import them into RelayThat.
To upload an image, hover over a blank photo thumbnail on the right. Then click the little upload cloud icon that appears and navigate to the image on your computer. Click Open to upload the image.
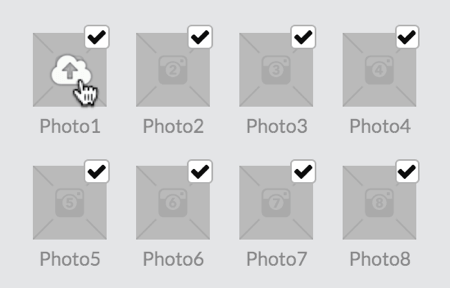
You can also drag and drop photos from your computer. Keep in mind that there might be a short time lag for large image files to upload.
Edit Images
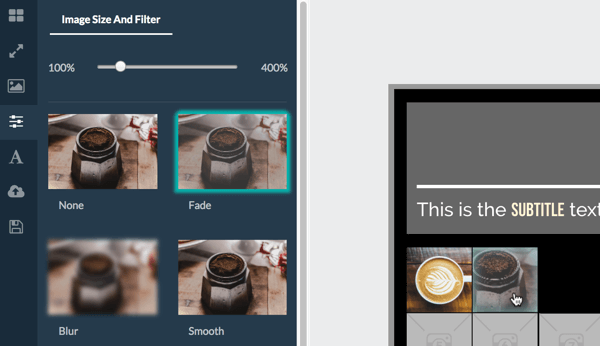
After adding images to your master layout, you can change image sizes and apply a filter.
Click on the image you want to edit in the master layout. Then on the left, drag the slider to zoom in on the image. Select a filter to apply it to the image.
Upload a Logo
RelayThat lets you upload two logos to your assets library. Your logo is considered an icon, so use the layout slots Icon1 and Icon2. Icon1 is a rectangle and Icon2 is a square that fits in a circle.
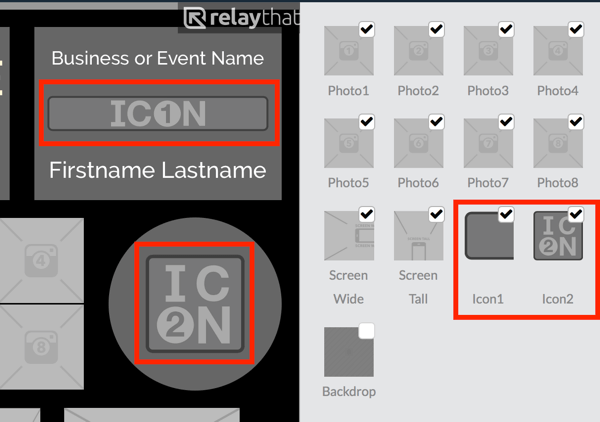
Pick whichever icon thumbnail is the best fit for your logo and upload it there. For instance, you might use the rectangle icon for your logo and the square icon for a cup of coffee. Follow the same process as above to upload your logo.
Select a Backdrop
The backdrop for your project can be anything you like: a photo, texture, or gradient. There are plenty of assets to choose from inside the app. If your brand has a specific backdrop style, upload it as described above.
Choose Project Layout Colors
3 Days of World-Class Training—Zero Travel!

Couldn't make it to Social Media Marketing World and AI Business World this year? Get all of the great content at a fraction of the price with a Virtual ticket.
That’s full access to recordings of every keynote, workshop, and session—the ones people travel thousands of miles to see. Don't wait. Get your Virtual ticket and enjoy actionable content that you can watch anytime, anywhere.
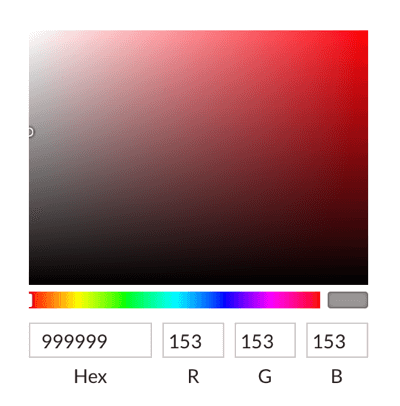
If you scroll to the bottom of the assets list on the right, you'll find your project layout colors. These are all tones of gray by default, but you can select your own brand colors if you want.
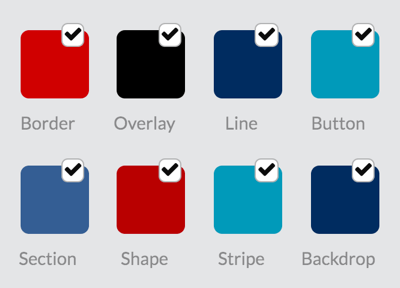
To change an asset's color, click the asset and enter the hex codes from your brand guide or choose the colors from the color picker. Once you've selected a color, the color picker remembers it for easier access later.
#3: Enter Titles and Text for Your Project
Now that you've added the visual assets, it's time to work on the title and the rest of the text.
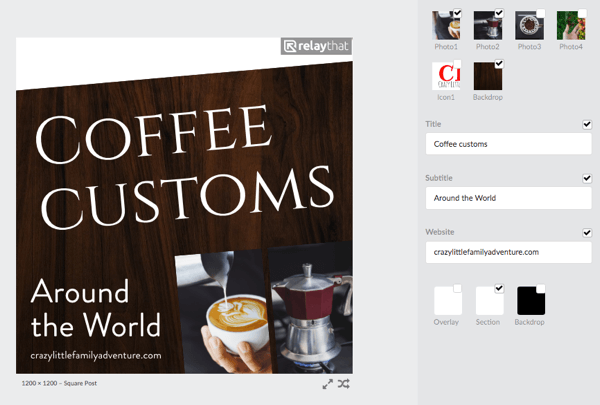
Use the Title and Subtitle fields to add the title for your project. In the example below, I added “Coffee Customs” as the title and “Around the World” as the subtitle.
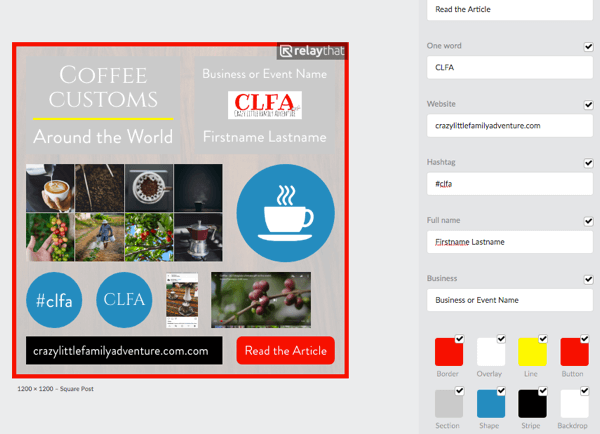
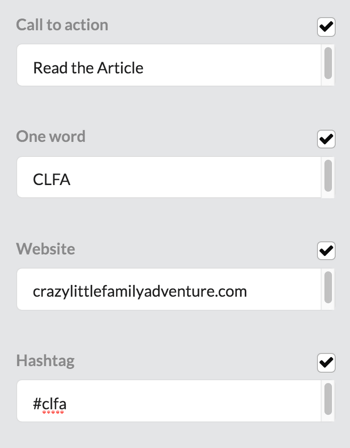
The Website, Hashtag, and Business fields are self-explanatory. If your business doesn't use a hashtag, you can leave the hashtag field blank or consider adding hashtags to your campaigns in the future. For the example, I used my blog initials as a hashtag.
The Full Name, Call to Action, and One Word fields may or may not be of use to you. For the call to action in the example, I used “Read the Article,” and for One Word, I added the blog initials “CLFA.”
To choose fonts for your text, click the text icon in the left menu. You can then select three fonts: primary, secondary, and highlight. For now, just pick your brand fonts; you can edit specific font combinations when you work on individual layouts.
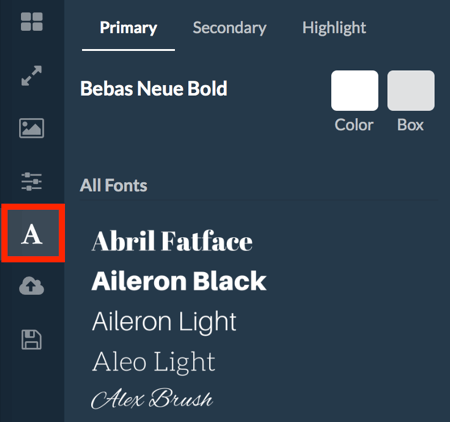
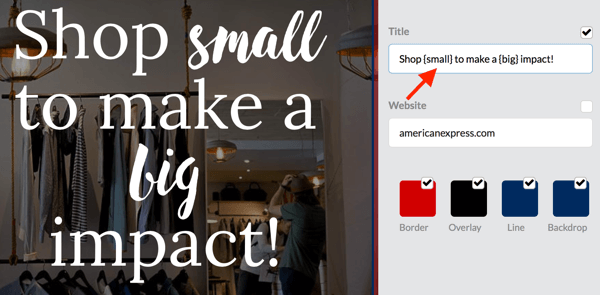
Tip: The font you choose for highlights lets you style words or phrases in your design for emphasis. To apply the highlight font, add curly brackets around the relevant text.
#4: Choose a Design for Your Graphics
Once you've uploaded your assets into your project's master layout, it's time to pick the design you want to use for your promotional graphics.
Explore Different Layouts
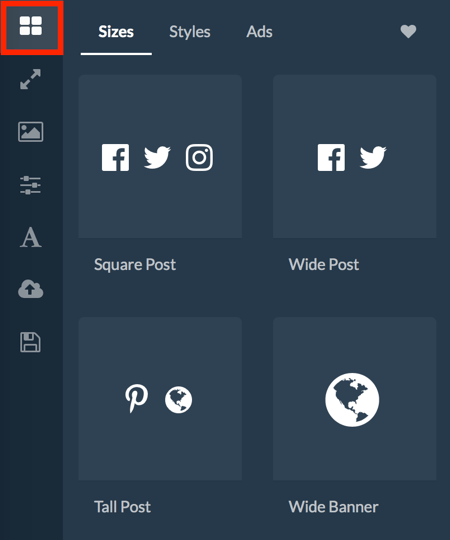
To view your layout options, click the topmost button in the left menu. Click Sizes to explore designs for graphics of various sizes, such as Square Post, Wide Post, Twitter Header, Facebook Cover, LinkedIn Profile Cover, and more. All of these individual designs are pre-populated with the image and text assets from your project's master layout.
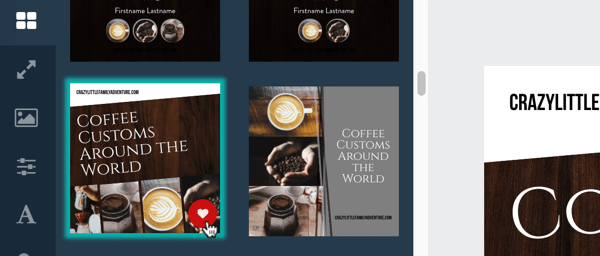
At first, you may be a little overwhelmed by the sheer number of layout choices, but don't fret. Just pick the layouts you like best and edit them as needed.
When you select a layout, you'll see the assets used in the layout on the right. For instance, not all layouts have a subtitle field, so if you divided your blog title into the title and subtitle fields in the master layout, just add the missing part of the title to the title field.
Deselect the checkboxes for any assets you don't want to use in the layout.
Depending on the layout, you may need to modify your image assets a bit. For example, you may find that a transparent version of your logo gives you more flexibility than the version you uploaded with the white background. Or perhaps a photo of coffee beans makes a better backdrop than a wooden texture in some designs.
You may also want to change the color of the shapes in the design. All of your colors are saved inside the color picker so it's easy to make changes.
Tip: Every layout you see in the left menu has a heart icon when you hover over it. Click the heart icon to add the layout to your favorites folder, which you can access by clicking the heart icon on the tab at the top of the layouts tab.
Resize and Mix Your Design
Once you've fine-tuned the design, click the second icon (the double-sided arrow) in the left menu to see a variety of resizing and remixing options for your chosen layout. This feature makes it easy to create graphics of different sizes and similar style.

#5: Download Your Graphics
When you're finished with your design, you're ready to download your graphics. Keep in mind that if you're on the free plan, you get five downloads per month, so be sure that the design is exactly as you'd like it.
By default, your graphic will be downloaded as a PNG file. If you want to download it as a JPG file, select JPG from the drop-down menu at the top of the page.
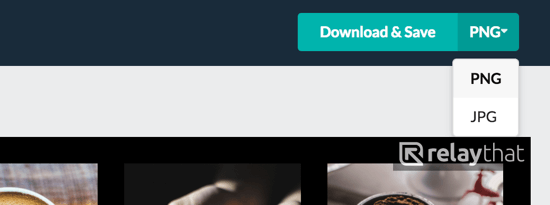
Click Download & Save to download your file. The download process takes a minute so don't close your browser while it's downloading.
Conclusion
RelayThat makes it easy for bloggers and social media marketers to create multiple promotional graphics in one go. Just upload your image and text assets, and the app will pre-populate all of the design layouts with your content. The designs all come in sets so when you remix and resize your graphics, they'll all have the same style.
What do you think? What types of visuals do you create to promote your content? Have you used RelayThat to create blog and social media images? Please share your thoughts in the comments below.

Curious About How to Use AI?
Our newest show, AI Explored, might be just what you're looking for. It's for marketers, creators, and entrepreneurs who want to understand how to use AI in their business.
It's hosted by Michael Stelzner and explores this exciting new frontier in easy-to-understand terms.
Pull up your favorite podcast app and search for AI Explored. Or click the button below for more information.
