 Google+ has opened the doors for business and brand pages.
In this article I show you how to set up your Google+ page and provide examples.
If you haven’t already created a personal Google+ profile for yourself, you'll need to do that first (you cannot simply sign up a business page from the main Google+ signup screen).
Check out the How to Get Started With Google+ for more on personal Google+ profiles.
If you do have a personal profile, here’s how to create a page for your business.
Visit Create a Page on Google+ to begin, and follow the steps below to get started with Google+ pages.
Pick a category
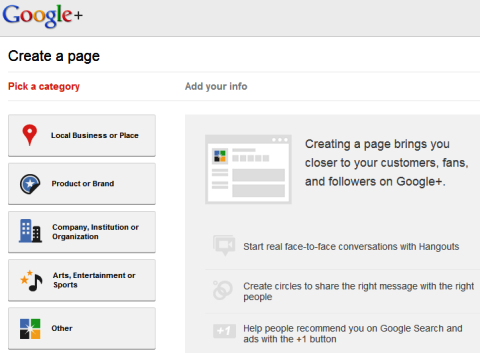
Pick a category for your Google+ page to fall under.
The first step in getting started creating your Google+ page is to choose from the following five main categories.
#1: Local Business or Place
Local Business or Place includes any local business—hotels, restaurants, places, stores or services. If you choose this category, you will be asked for the country in which your business is located and the primary phone number.
If Google finds a matching result in Google Places with your phone number, it will use this information for your Google+ profile. If not, you can add your business info to Google and continue.
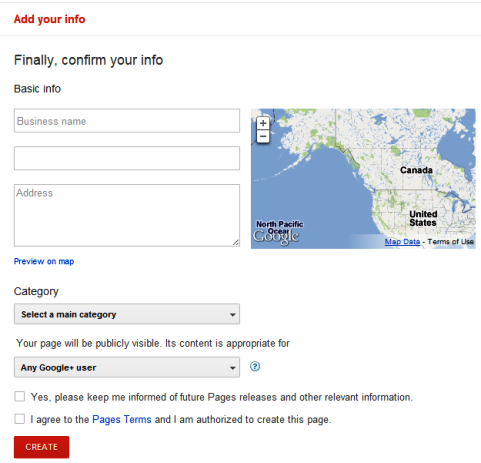
Add your local business information to Google+.
Get World-Class Marketing Training — All Year Long!
Are you facing doubt, uncertainty, or overwhelm? The Social Media Marketing Society can help.
Each month, you’ll receive training from trusted marketing experts, covering everything from AI to organic social marketing. When you join, you’ll also get immediate access to:
- A library of 100+ marketing trainings
- A community of like-minded marketers
- Monthly online community meetups
- Relevant news and trends updates
#2: Product or Brand
Examples given by Google+ of pages that would fit under Product or Brand include apparel, cars, electronics and financial services.
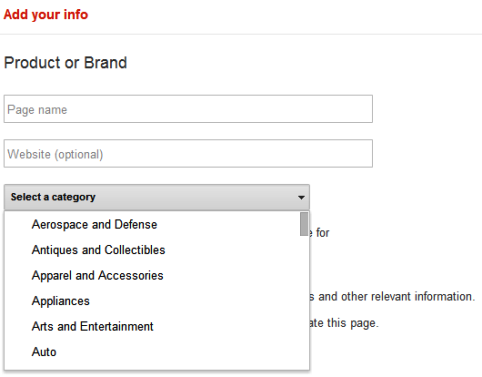
Add your Product or Brand info and choose the most applicable category.
Here, you would enter your page name and website, and choose an applicable category which includes anything from Aerospace and Defense to a Website, or you can simply choose Brand, Other, Product or Service.
#3: Company, Institution or Organization
The next category, Company, Institution or Organization includes pages for companies, institutions, organizations and non-profits or similar entities. Here you also enter your page name and website, and choose an applicable category with the same options as a Product or Brand page, or you can simply choose Company, Institution, Organization or Other.
#4: Arts, Entertainment or Sports
Pages for movies, TV, music, books, sports and shows are considered a good fit for the Arts, Entertainment or Sports section. Again, you will enter your page name and website, and choose an applicable category—this time with options ranging from Album to Website, or you can simply choose Entertainment, Other or Sports.
#5: Other
If you don't feel your page fits in any of the above-mentioned categories, you can simply select Other, where you can enter your page name and website without any additional narrowing of category selection.
For pages in any category, you must also choose whether your page's content is suitable for any Google+ user, users 18 or older, users 21 or older or specifically note that the content will be alcohol-related. Then you will tick boxes to opt-in to updates for Google+ pages and agree to terms and conditions to continue.

Determine the appropriate age group for your page to be visible to based on content.
Be sure to actually check out the Google+ Additional Terms of Service to see their notes on Authority, Access, Content, Data, Contests and Suspension & Termination.
Customize Your Page's Public Profile
Once you've selected your page's category, you can start customizing your page's public profile.
#1: Add Your Profile Photo and Tagline
First, you will be asked to add your tagline (the 10 words that best describe your page) and your page's profile photo.
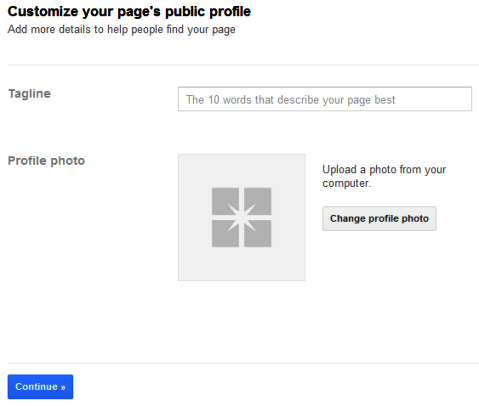
Add your Google+ page's tagline and profile photo.
After you have added these items and clicked on Continue, you will be asked to spread the word about your new page through your personal Google+ profile. If you're not ready yet (which you probably aren't, since you haven't completed your profile), click on Finish to be taken to your new page.
#2: Editing Your Page Information
Once you've perused your page's welcome screen, you will want to edit your page's information. Go to your page's profile by clicking on the Profile icon at the top, left of the Search Google+ box. Then go to your About tab and Edit Profile.
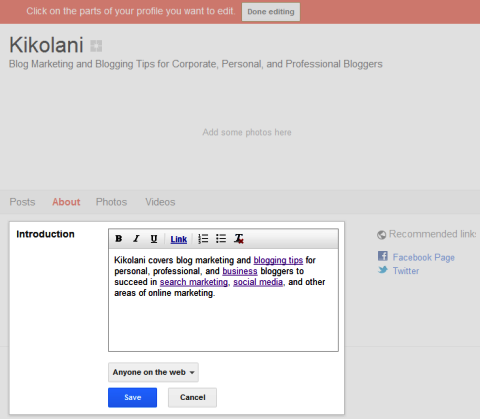
Edit information for your profile's About section.
Here you will be able to click on everything from your page name to your links to enter relevant information about your page within Introduction, Hours (for local businesses or places), Website and Contact Info (phone, email, Skype, etc.). Also be sure to enter additional links to your page in the Introduction section using the Link button and under Recommended Links to link to your other social profiles, blog, blog posts and so on. Keep in mind important keywords for your business – if you are a digital marketing agency, be sure to include digital marketing in your profile.
#3: Adding Your Photostrip
Last but not least when it comes to your Google+ page design is filling in your photostrip. These five photos will be displayed underneath your page's name and tagline.
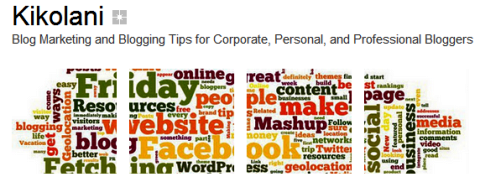
Add photos that best represent your page in your photostrip beneath your page name and tagline.
It's similar to the five photos you can have on your Facebook page. While editing your profile, click on the photo area where it says “add photos here” and upload a photo in each of the five photo spots. You can use different photos that represent your business or creatively cut one photo into five pieces and spread it across the area.
Congratulations! Your Google+ Page Is Ready.
Once your profile is ready, you can start posting to your profile by adding status updates, links, photos and videos just like you do on your personal Google+ profile. I would suggest writing a post or two before you use the “Spread the word” option in your right sidebar to announce your page to your personal profile connections.
Following and Engaging With Your Fans
So what's the difference between a Google+ page and a Facebook page? The big one I've noticed so far is the fact that you can follow your page's fans back and add them to Circles.

Discover Proven Marketing Strategies and Tips
Want to go even deeper with your marketing? Check out the Social Media Marketing Podcast! Publishing weekly since 2012, the Social Media Marketing Podcast helps you navigate the constantly changing marketing jungle, with expert interviews from marketing pros.
But don’t let the name fool you. This show is about a lot more than just social media marketing. With over 600 episodes and millions of downloads each year, this show has been a trusted source for marketers for well over a decade.
To find out who has added your page to their Circle, you can check your Notifications under Stream in the left sidebar. You can also look under your Circles > People who've added you area by clicking on the Circles icon.
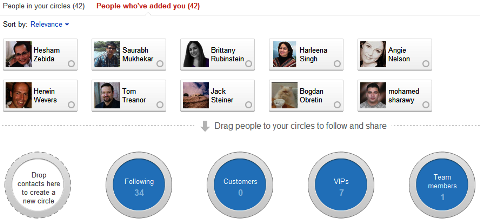
Follow your Google+ page's fans by moving them into Circles.
In this screen, you can drag your fans into one or more of the four default circles.
- Team Members—The people you will share the inside scoop with. This could be a great way to share company news with only the people you want to see it.
- VIPs—Your most loyal customers and closest partners.
- Customers—All the people or organizations you want to build deeper relationships with. You could possibly use this Circle to send out special discounts and promotions!
- Following—People you don't know personally but whose posts you find interesting.
Just as you can with your personal profile, you can also create new Circles.
There are a lot of ways you can successfully use your custom Circles for marketing and messaging, such as creating Circles of fans in a specific location and sharing updates with them about geo-specific offers.
Universities can create Circles for professors, alumni, undergraduate, graduate and prospective students and then share updates with them about news related to their current status with the university. The possibilities are endless.
This also means you can follow your fans' updates, comment on your fans' status messages, and +1 their updates as your page. The functionality for a Facebook fan page to interact with a personal profile on Facebook isn't there, but it is in Google+. Your fans will even see your interaction with their updates in their notifications!
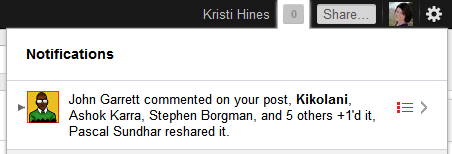
Google+ users will see your page's interactions with their profiles in their notifications.
This, in my opinion, is going to be a very powerful way for businesses or brands to communicate with their audiences.
For example, if there is a complaint, the Google+ page can reply publicly on their page, and then privately to the Google+ user by sending a status update directly to them. With Facebook pages, the page can only reply on the wall update but not directly communicate with the Facebook user.
Connecting Your Google+ Page to Your Website
You can connect your website to your Google+ page using the Google+ badge configuration tool. Currently only the icons are available, but official badges are coming soon.
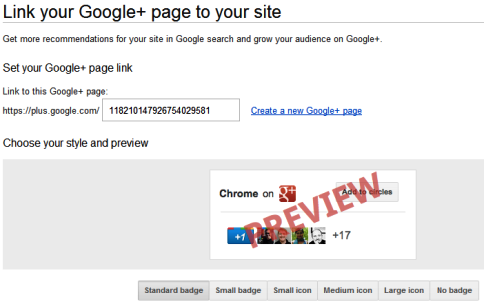
Connecting your Google+ page to your website.
Regardless of whether you want to add a badge to your website, you will want to connect your Google+ page to your website simply for the search benefits.
Google+ Direct Connect will allow visitors to find your Google+ page and add it to their Circles, directly from Google search results. To do this, simply add the following code between the <head> </head> tags on your website.
<link href="{plusPageUrl}" rel="publisher" />
Replace {plusPageUrl} with your Google+ page URL. Then visitors will be able to add your Google+ page to Circles simply through their search results.
7 Google+ Page Examples
If you're in need of some creative inspiration, here are a few established Google+ pages for social media enthusiasts.
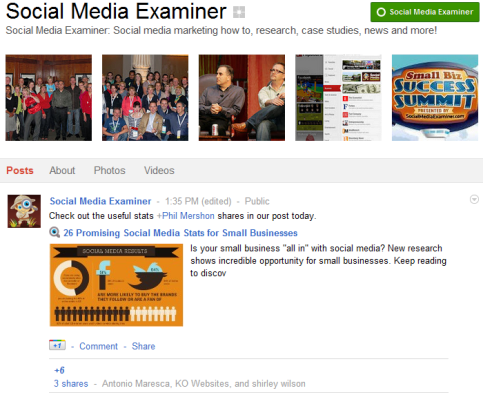
Social Media Examiner's page gains instant popularity on Google+.
A list of great Google+ pages would be incomplete without Social Media Examiner!
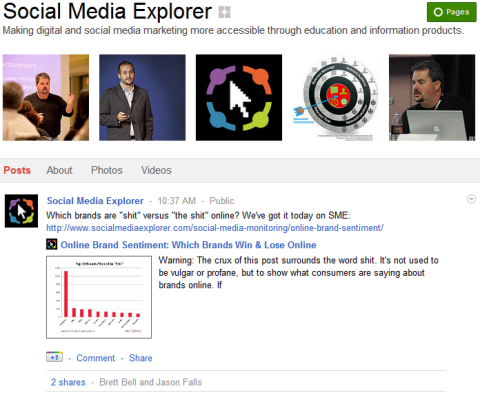
Social Media Explorer's Google+ page uses photostrip images to convey education.
Social Media Explorer‘s page marries its tagline of education and information perfectly with its photostrip images.
#3: Mashable
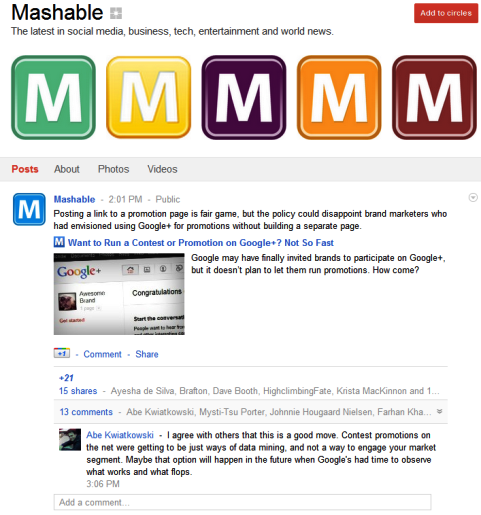
Mashable was one of the first brands to put its presence on Google+.
Mashable appeared, then shortly disappeared in the early days of Google+, but has once again emerged.
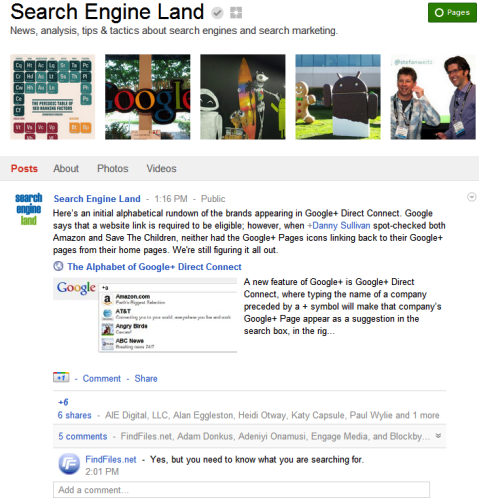
Search Engine Land breaks the latest news about Google+.
Although its focus may be search marketing, Search Engine Land also offers extensive social media coverage, especially when Google+ is concerned.
#5: HootSuite
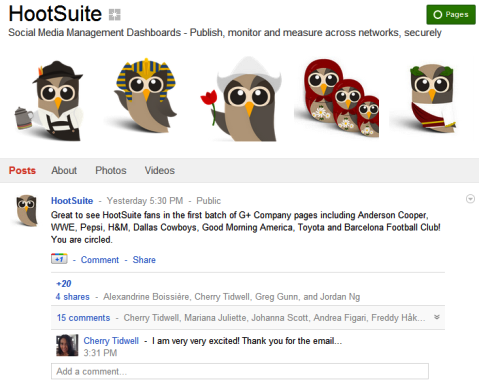
HootSuite uses its Google+ photostrip to represent a worldwide user base.
HootSuite displays its diversity through a variety of expressive icons in the photostrip.
#6: Google+
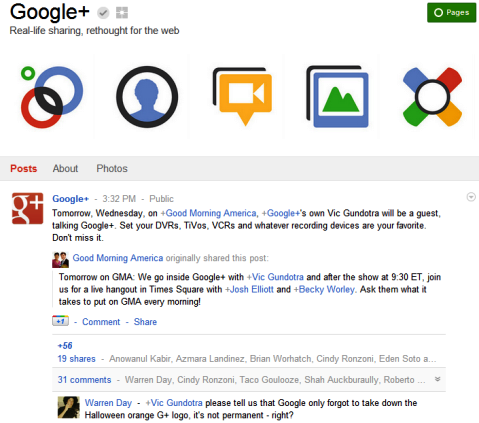
Google+ positions its page as an authority for its own network.
Another page that is a must-have for any list of Google+ pages is that of Google+ itself.
#7: Twitter

Twitter is just starting up its presence on Google+.
Although it isn't active yet, Twitter is on the ball by creating a brand page on Google+.
What Are Your Thoughts on Google+ Pages?
Have you begun experimenting with Google+ pages for your website, brand or business? Please let us know your experience so far, additional tips you would like to share with those getting started and the best Google+ pages you've seen thus far!
Attention Agency Owners, Brand Marketers, and Consultants

Introducing the Marketing Agency Show–our newest podcast designed to explore the struggles of agency marketers.
Join show host and agency owner, Brooke Sellas, as she interviews agency marketers and digs deep into their biggest challenges. Explore topics like navigating rough economic times, leveraging AI, service diversification, client acquisition, and much more.
Just pull up your favorite podcast app, search for Marketing Agency Show and start listening. Or click the button below for more information.

